
2026-09-12 · 8 min read
Inside a 0.92 m Giant Lotion Bottle Display Model
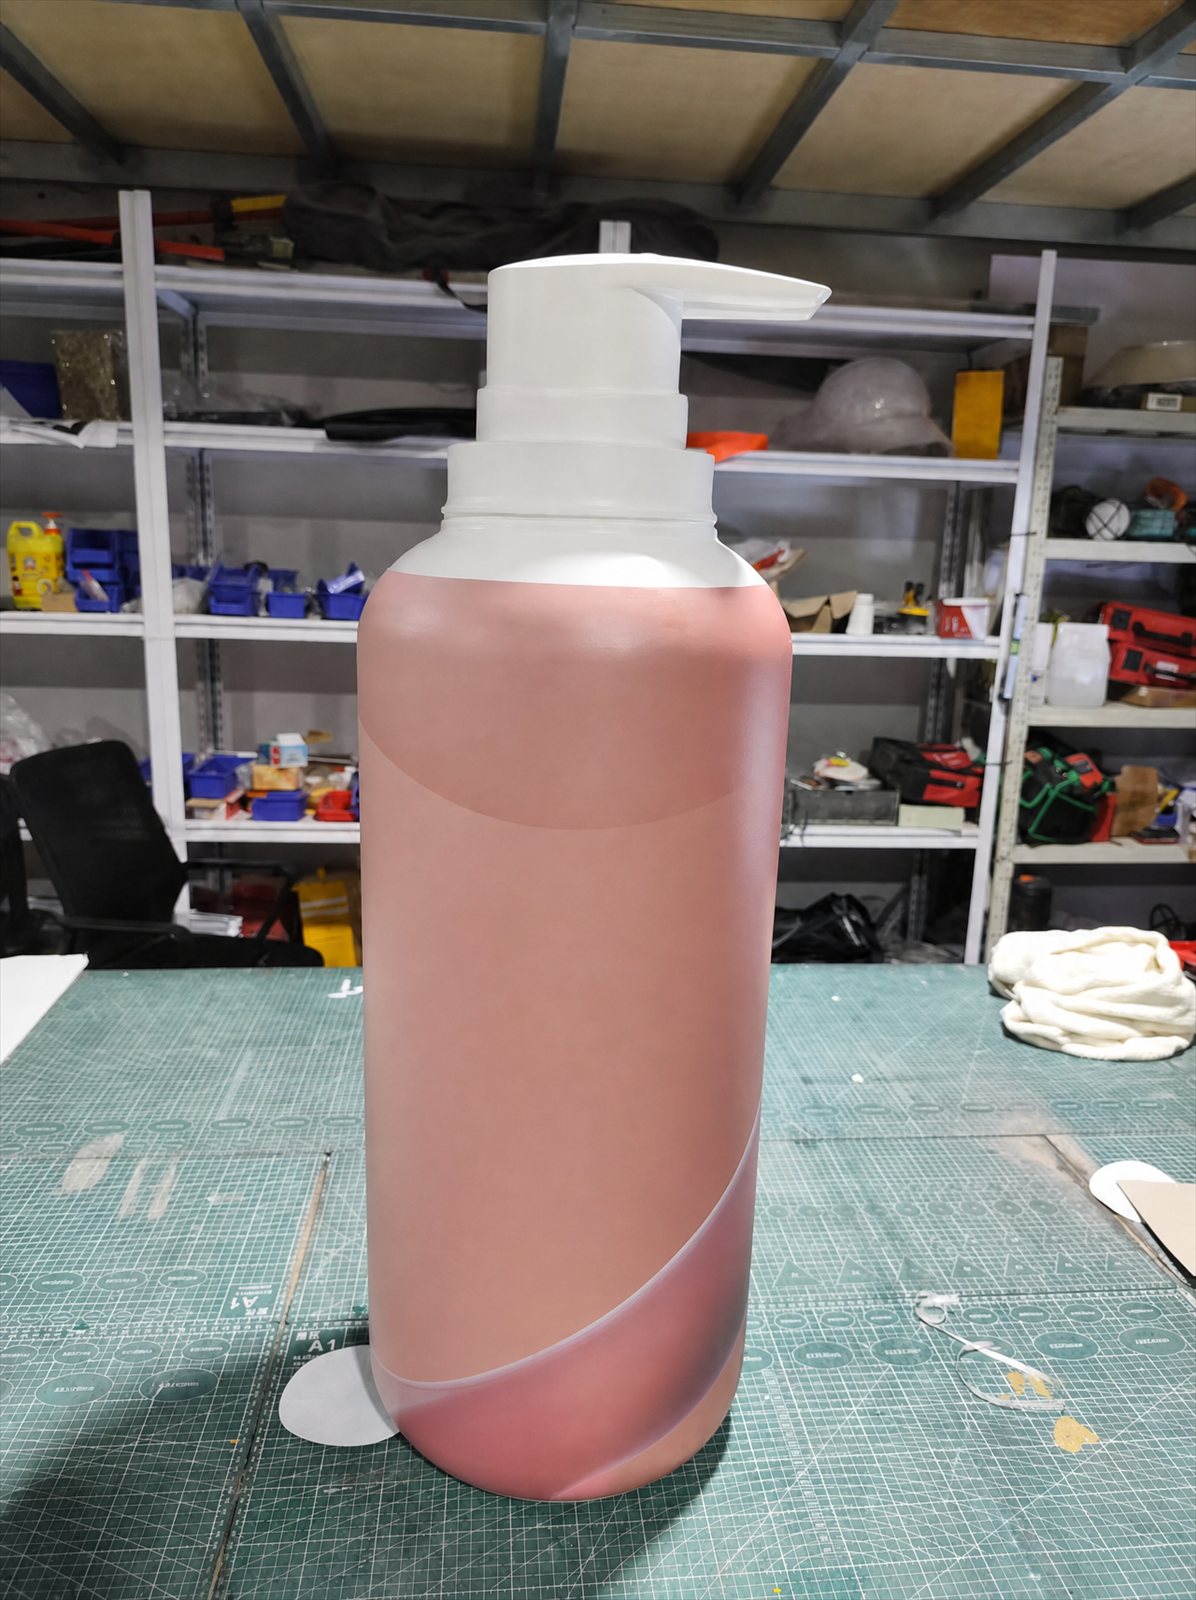
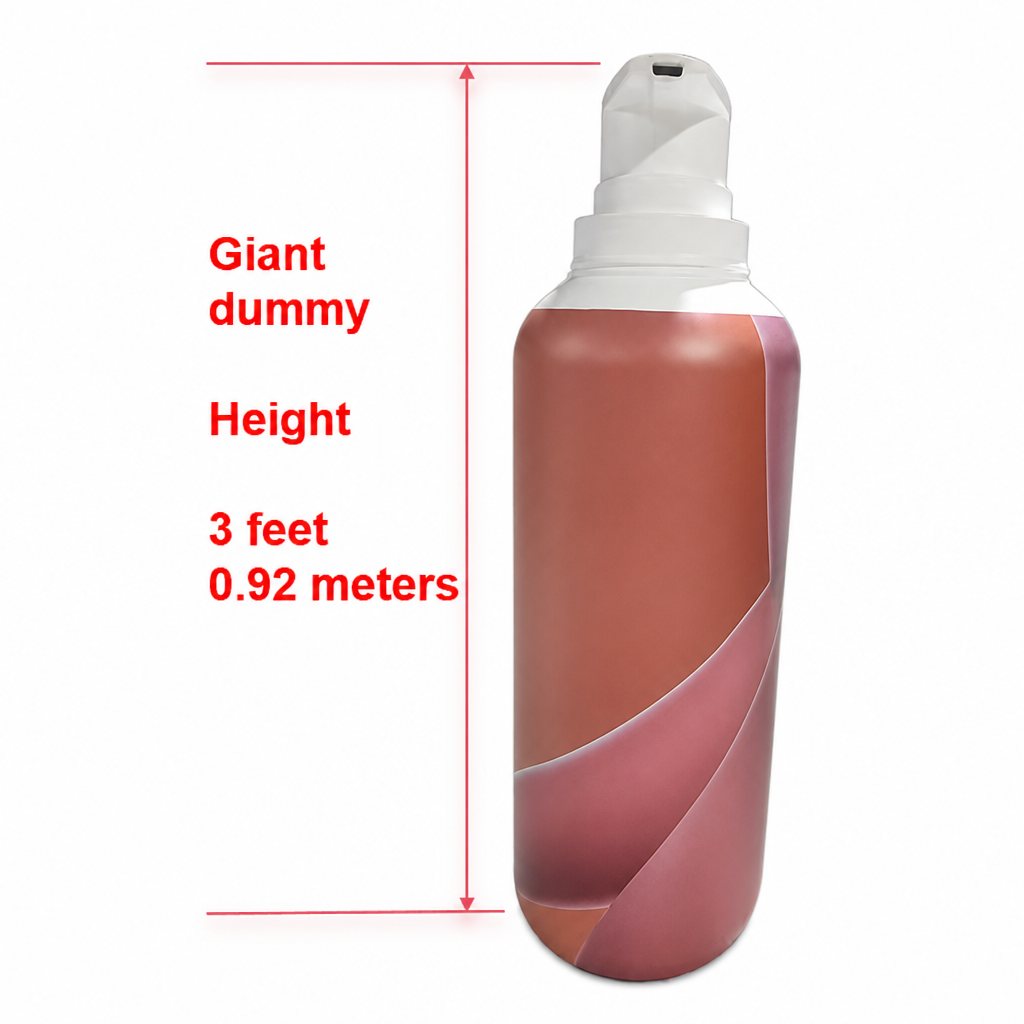
The brief was ordinary enough. A body care brand wanted its own lotion bottle blown up to 0.92 m — three feet — so it would carry a shop floor from the doorway and photograph without a stylist standing behind it. What made the job interesting was everything the client asked us to keep: the taper on the shoulder, the collar under the pump, the colour, the surface. Past about half a metre a dummy stops being a prop and turns into a drawing of a bottle, and every line you get wrong is a line you live with. This is what the build involved.
Start with the bottle, not a photo
The first thing we ask for is the container itself. Not a print, not a press photo, and not a CAD file from whoever drew the packaging. A flat artwork hides the taper of a shoulder, and studio lighting hides how a gloss reads across a curve. Scale the bottle up and you scale those errors up with it.
When the pack arrives at our Shanghai workshop it gets unpacked, photographed and logged. Where a client can only release a sample from a different production run, we say so at the start rather than at the end — wall thickness and colour both drift between runs, and at 0.92 m that drift is visible.
We also ask where the piece will stand. A counter dummy sits under warm shop spots. A prop for a photo shoot gets lit from every side and has to hold up from a metre away. A window piece is often backlit and read as a silhouette. The answer changes the finish, so it is cheaper to settle it now than after the shell is painted.
Scanning, then the drawing
You can measure a bottle by hand and we have done it that way for years. It is slow, and it fails exactly where it matters: the roll where the shoulder meets the neck, the radius under the collar, the slight ovality of a moulded body that nobody notices until it is three feet tall and photographed from the side.
So the container goes on the scanner instead. The scan gives us a dense set of measurements across the whole surface, and the technical design is worked from that — wall thickness, where the body splits, how the pump separates from the collar, where the base needs to sit so the piece stands without wobbling. All of it is decided on the scan, before anything is cut. What comes out of this stage is a drawing we can show you, not a render.
Making the pattern
From the drawing comes the pattern — the positive shape the shell is built over. At this size we build it in sections. A single 0.92 m block is heavy to move around, and correcting one curve on a one-piece pattern usually means disturbing the curves next to it. With sections, a shoulder that is a degree out is one block to rework instead of a restart.
This is the stage clients most often want to hurry. We push back on it. A correction in the pattern costs a few hours of workshop time. The same correction on a finished, painted shell costs the shell.
Laying up the shell
We built this body in fiberglass. At 0.92 m the obvious alternative is acrylic, and it is the wrong answer here: heavier, more expensive to crate and fly, and it cracks where fiberglass flexes when a piece takes a knock on a launch night. Fiberglass also lets us make the body in one piece, which is the whole point. A bottle has no seams, so a dummy of one should not have any either.
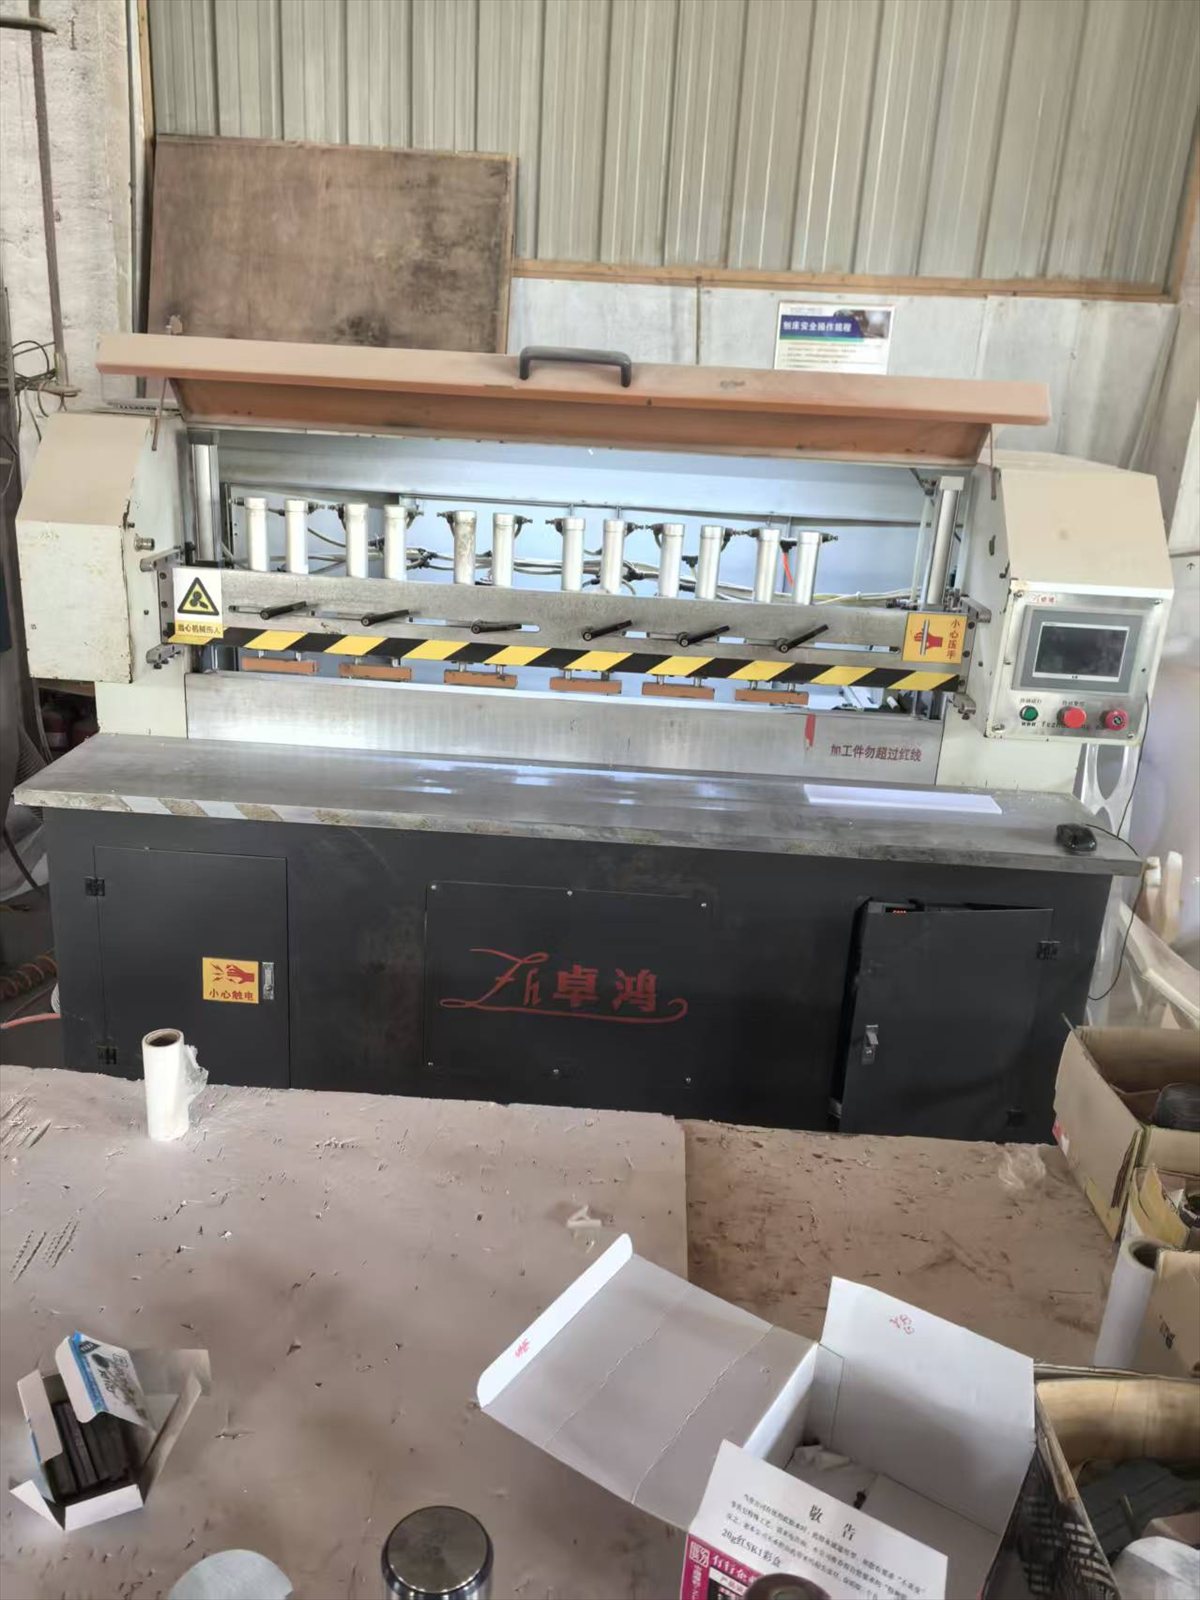
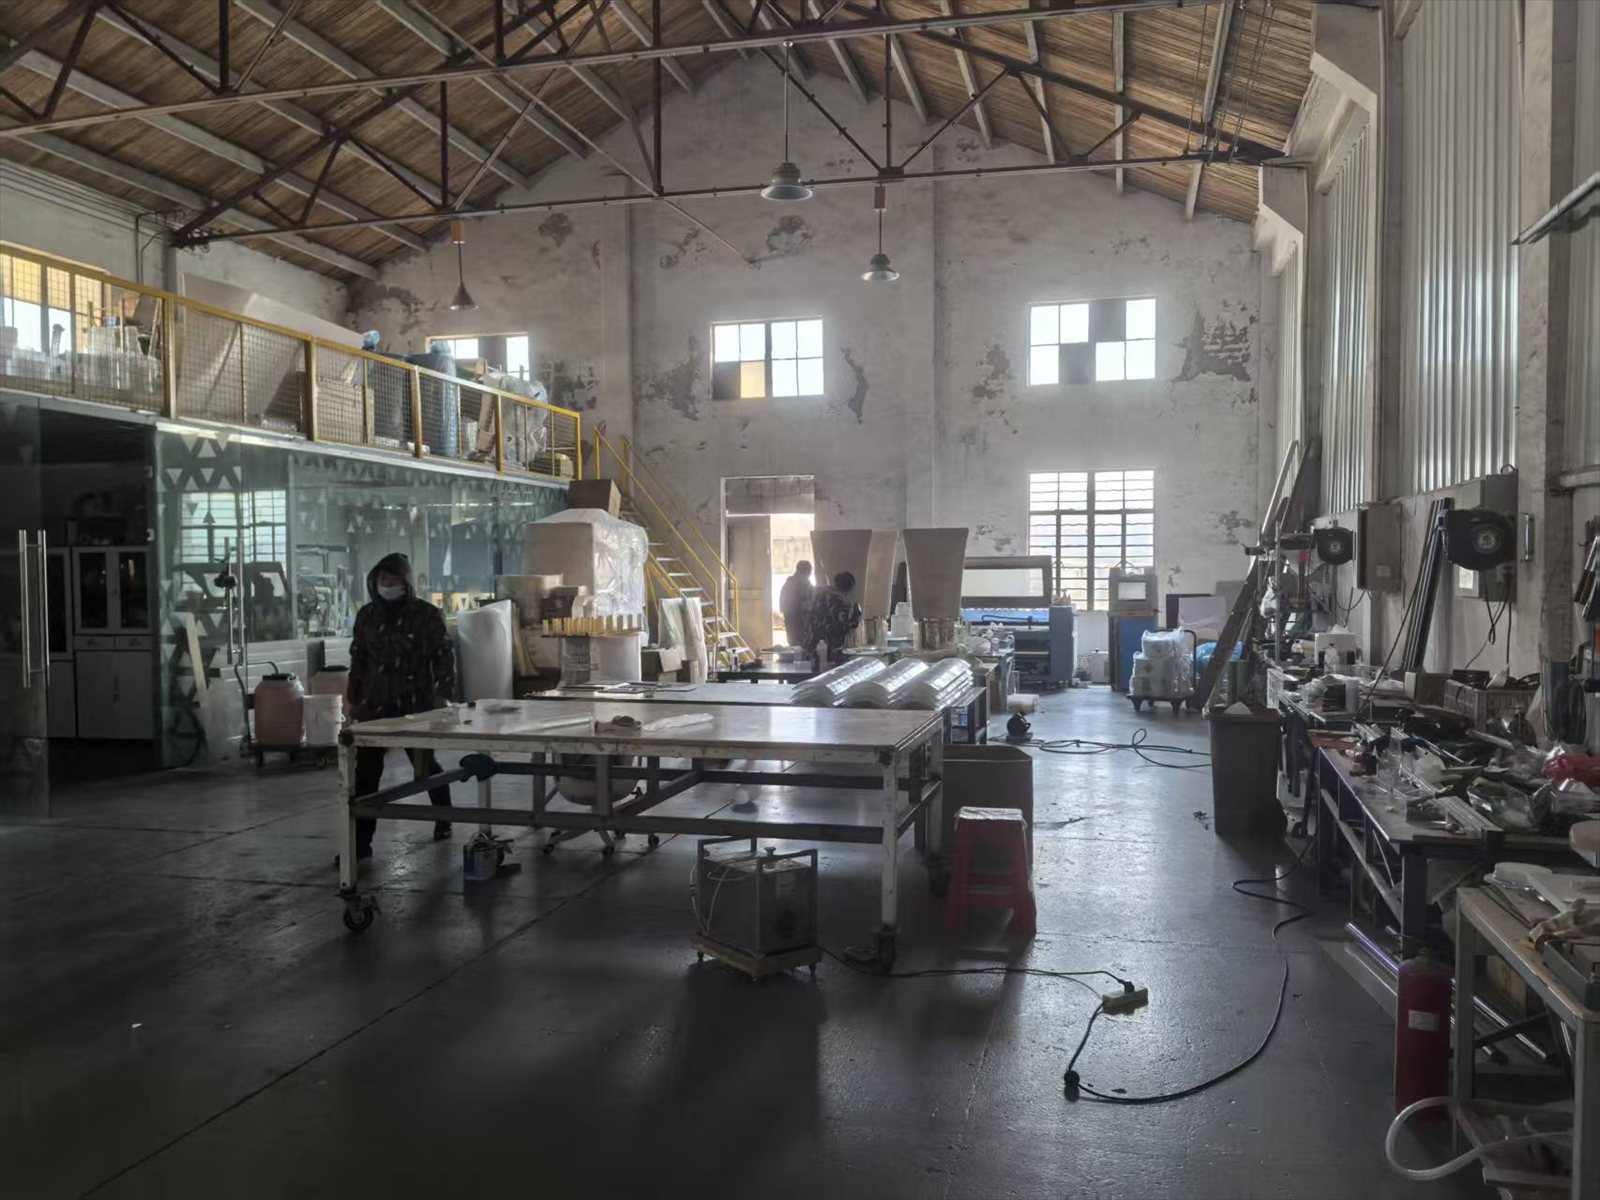
Laying up is handwork. Gel coat goes down first and becomes the outer surface. Glass mat and resin follow in layers, worked by hand until the wall is thick enough to hold its shape without becoming something two people have to lift. The shell comes off the pattern, gets joined where the form needs it, and every seam is filled and worked back until you cannot find it with your fingers.
The pump and the collar are separate components, built and finished on their own. That is deliberate. The opaque white pump, the clear collar and the printed body are three different surfaces, and finishing them as one assembly means compromising at least one of them. Split, each can be judged by itself and rejected by itself.
The part nobody photographs
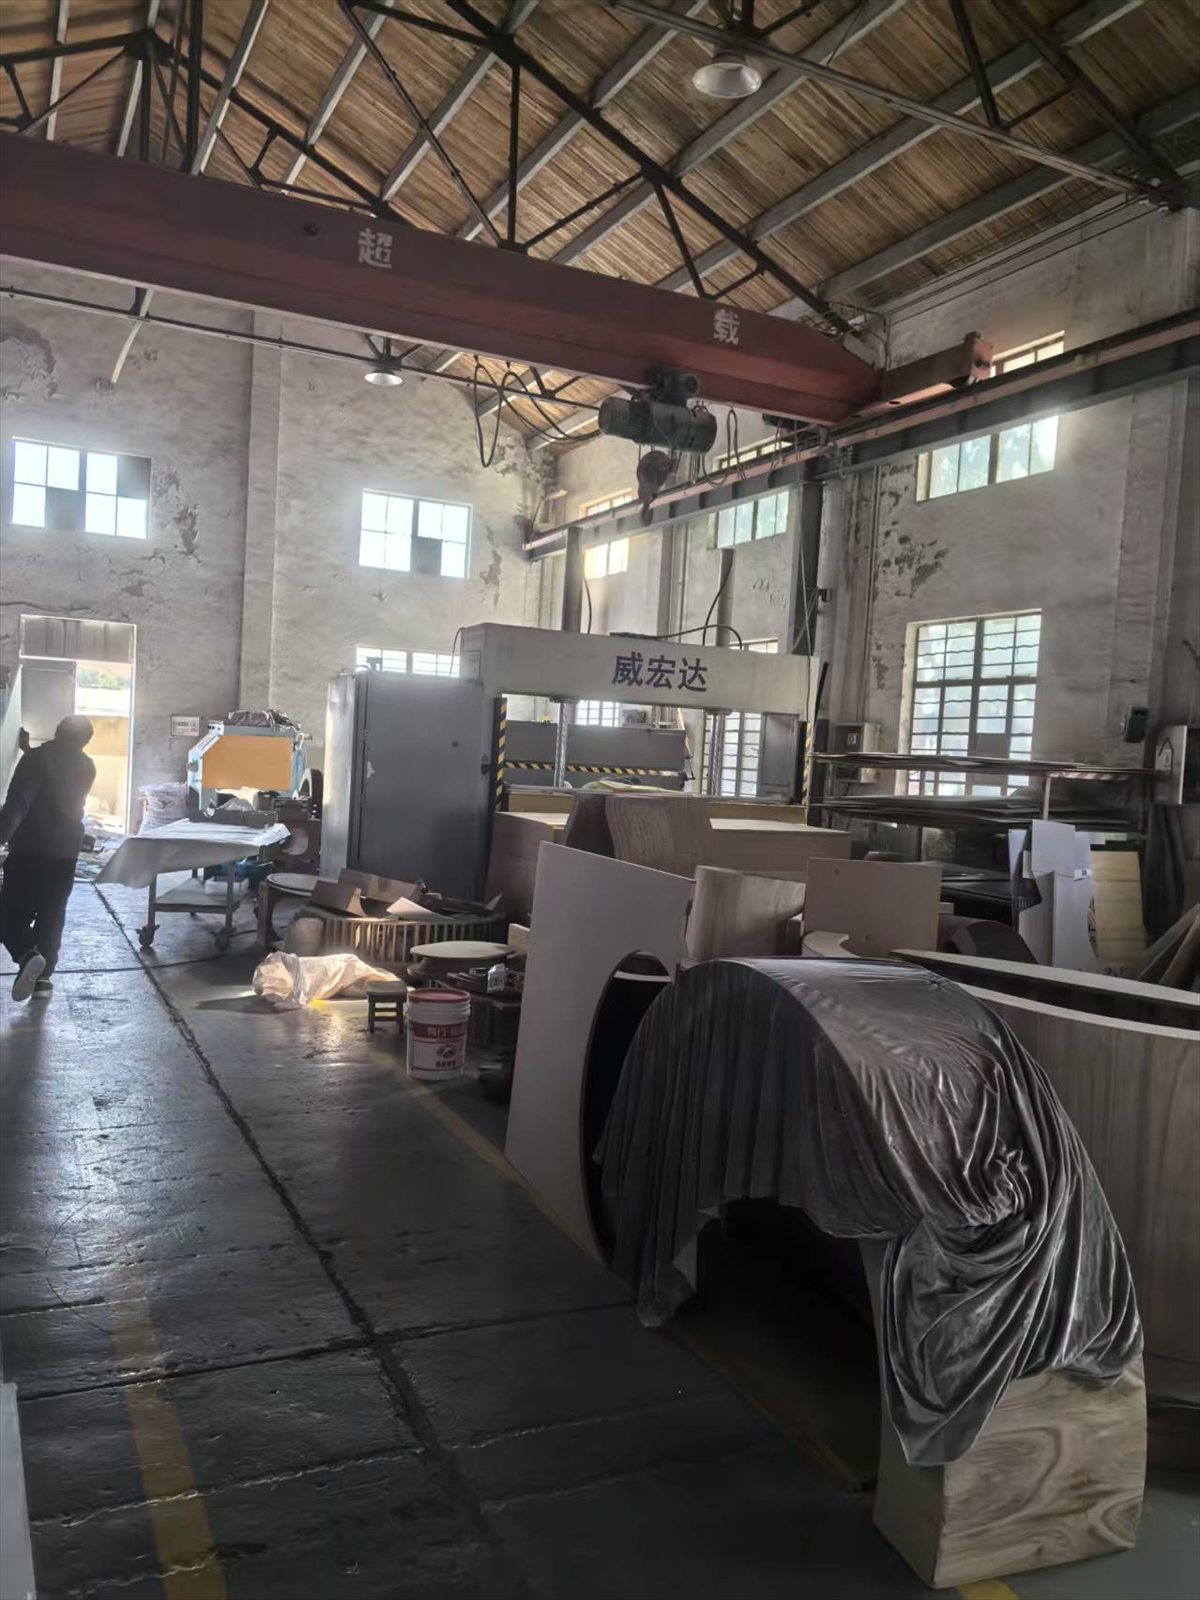
Sanding is where the piece is won or lost, and it is the part we cannot show in a finished photograph.
A shell that has just come off the pattern looks acceptable. It also carries pinholes, a faint ridge where the mat overlaps, and low spots that stay invisible until paint goes over them. So it gets filled, sanded, primed and sanded again. The check is a lamp held almost parallel to the surface: under raking light every low spot becomes a shadow and every pinhole becomes a dot. We keep going until the light stops finding anything.
On a 0.92 m body that is roughly the surface area of a small tabletop, front and back, and all of it gets the same treatment. Skipping this stage is how you end up with a piece that looks convincing from two metres and embarrassing from fifty centimetres — and the photograph that ends up on a client‘s website is always taken from fifty centimetres.
Colour and texture
Colour is matched to the client‘s own pack, under the light the piece will live in. This matters more than most people expect. A shade signed off under office lighting can turn grey under warm retail spots, and the larger the surface, the more obvious the drift. Send anything physical — the pack, a fabric swatch, a Pantone or RAL chip — and we confirm the colour on a sprayed sample before the run.
Texture is a separate decision from colour, and it changes how the piece behaves on camera. The body in the photographs above is matte: it reads opaque at distance and photographs evenly with no hotspot. A gloss body is doable, and under strong light it does look closer to a real pressurised pack — but it throws a hard highlight along the whole curve, and that highlight is what the camera will expose for. Worth deciding before finishing starts, not after.
Blank by default
Here is where a display dummy parts company with a copy. The artwork on a real pack belongs to somebody. Our default is to ship the wrap blank, in the pack‘s colour or flat, with the client‘s own artwork applied afterwards — by their team on site, or by us under a signed reproduction licence. The piece shown above is blank for exactly that reason, and the same applies to embossed names, secondary marks and the small legal print around a base.
If someone sends us a bottle carrying a mark they do not own, we would rather say so at the quoting stage than quietly reproduce it. Blank is also simply better for photography: the prop belongs to the shoot rather than to a logo that may not survive the next pack redesign.
Why 0.92 m is a useful size
Three feet is a deliberate number rather than a round one. Below about half a metre a dummy reads as a sample, and people assume it is for sale. Past roughly 1.2 m it stops being a bottle and becomes architecture — it wants a plinth, a rigger and a permanent address. Between those two points, around 0.8 to 1.0 m, you get a piece that is unmistakably oversized, still reads as the product in a phone photo taken by a customer, and can be carried into a venue by two people on the night.
What to send us
- The container itself, or a sample from the run in question. If it has to be a different unit, say so at the start.
- What the piece is for — counter, window, shoot or exhibition — and where it will be lit.
- One physical reference for colour: the pack, a print, or a Pantone or RAL chip.
- Your artwork, if you want it applied, plus confirmation that you own it.
- Destination and deadline, so packing and freight can be quoted with the piece.
Minimum order is from 1 piece, and a single piece for a shoot is normal work here — most of this is one-off anyway. Sampling runs around 15 days, depending on the design. If you would rather see how we would approach your own pack before committing, send the bottle and we will come back with the technical drawing.
Specs at a glance
| Height | 0.92 m (3 ft) shown; built to your size |
|---|---|
| Body | Fiberglass, hand-laid one-piece shell, matte finish |
| Colour | Matched to your reference and confirmed on a sprayed sample |
| Label wrap | Blank by default; your artwork applied under authorisation |
| Pump and collar | Separate components, finished independently |
| Minimum order | from 1 piece |
| Sample lead | around 15 days |
| Production lead | Confirmed with your quotation — see our FAQ |
Common questions
Can the same body be made at another height?
Yes. The pattern is built from the drawing, so a different height is a different drawing rather than a different project. It does mean new tooling, so the sensible moment to change the size is before the pattern is cut, not after the shell is painted.
Can the dummy carry our own logo and label artwork?
Yes, and it is a normal order. Send the artwork and confirmation that you own the mark, or a written licence if it belongs to a client of yours. We will apply it as printed decor or as a wrapped label, depending on the surface and size.
Why not simply enlarge your artwork and print it onto a shell?
Because artwork is drawn flat and the object is not. A label designed for a 6 cm bottle has letter spacing, borders and print tolerances sized for 6 cm. Enlarged, the spacing looks loose, the borders look thin and the logo sits in a different place relative to the shoulder. The wrap has to be rebuilt for the new circumference, which is why we ask for the original artwork files rather than a photograph of the pack.
How do we check the piece before it ships?
You receive QC photographs before anything leaves the workshop, and we can walk you through the piece on a video call if you would rather see it live. For larger projects we schedule the inspection points with you at the quoting stage.
If you have a pack that deserves the treatment — a bottle, a jar, a tube — send us the container or a drawing and we will come back with feasibility, a colour sample and a quote. You can also see the rest of the giant cosmetic replicas we build, read how a piece moves through the full production process, or look at what goes into a retail launch display.